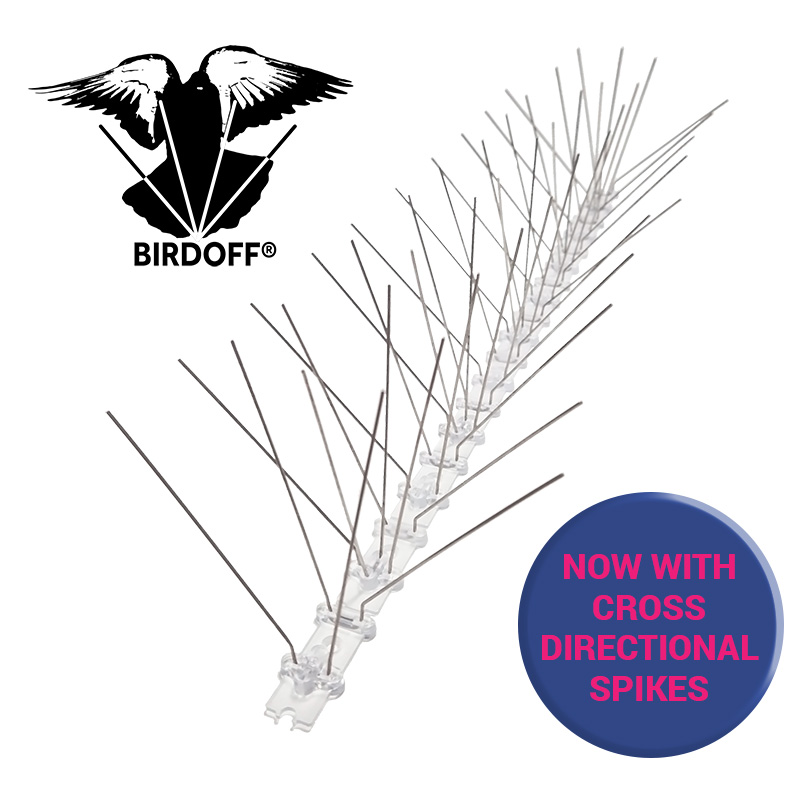
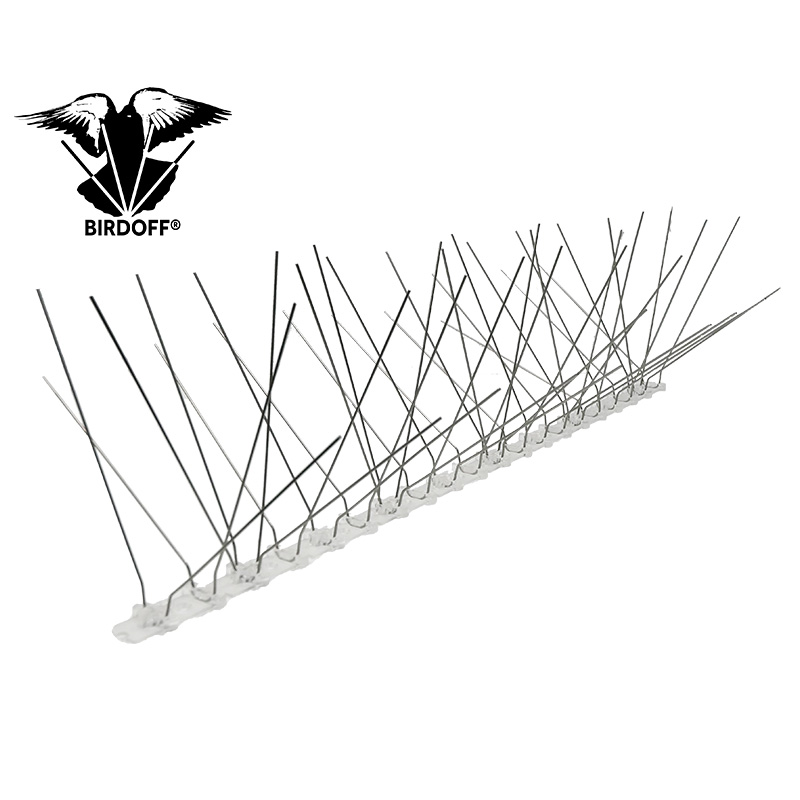
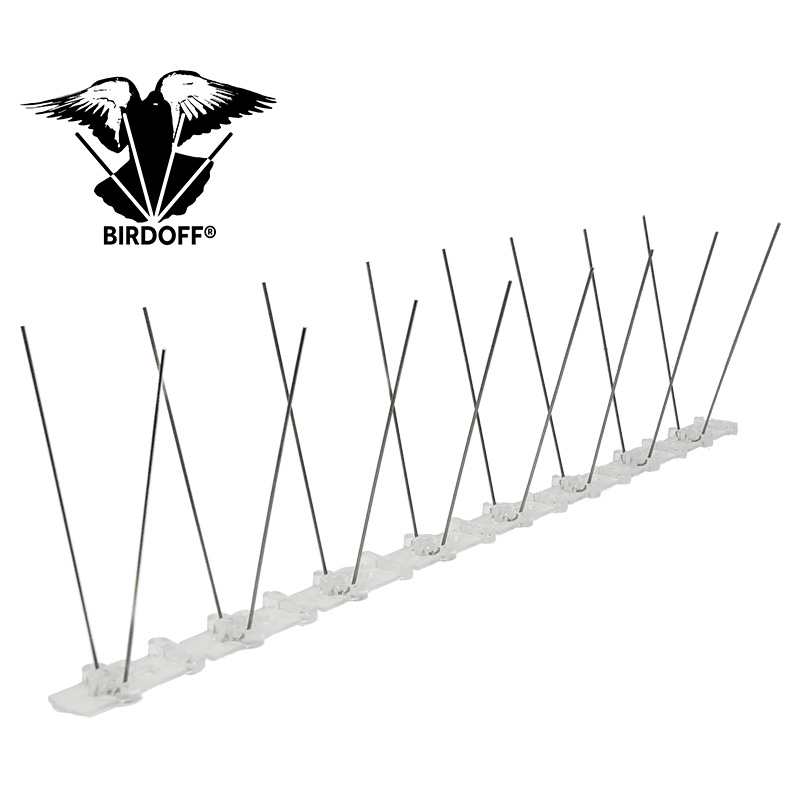
The BirdOff Narrow Pigeon Spikes provide effective bird control for slim linear surfaces. Durable, humane, and easy to install, these anti-bird spikes are perfect for residential and commercial properties requiring precise protection to deter pigeons and other small birds from landing or roosting.
Key Features:
- Ideal for linear surfaces.
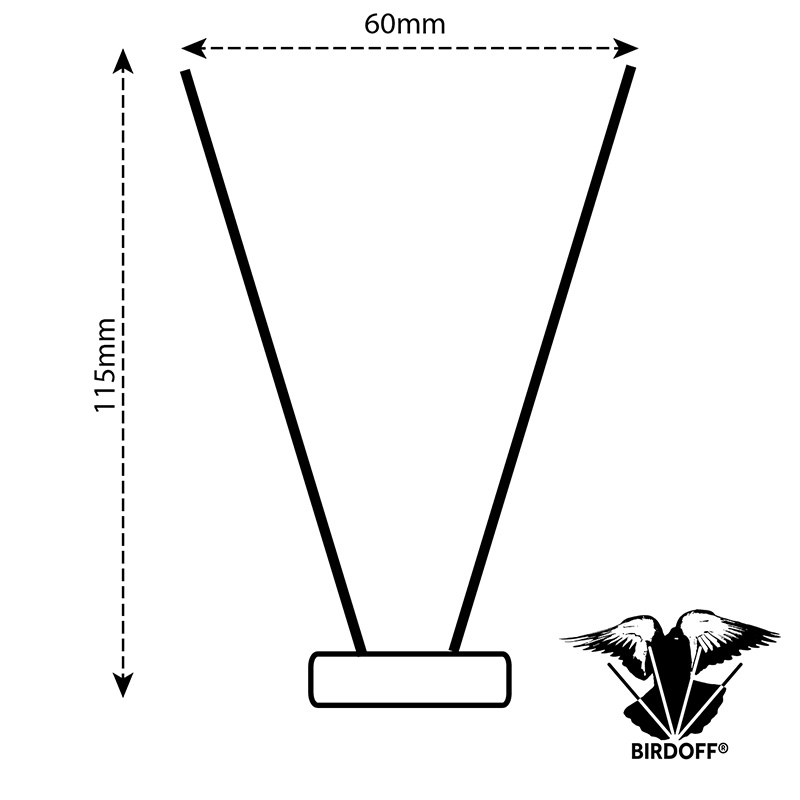
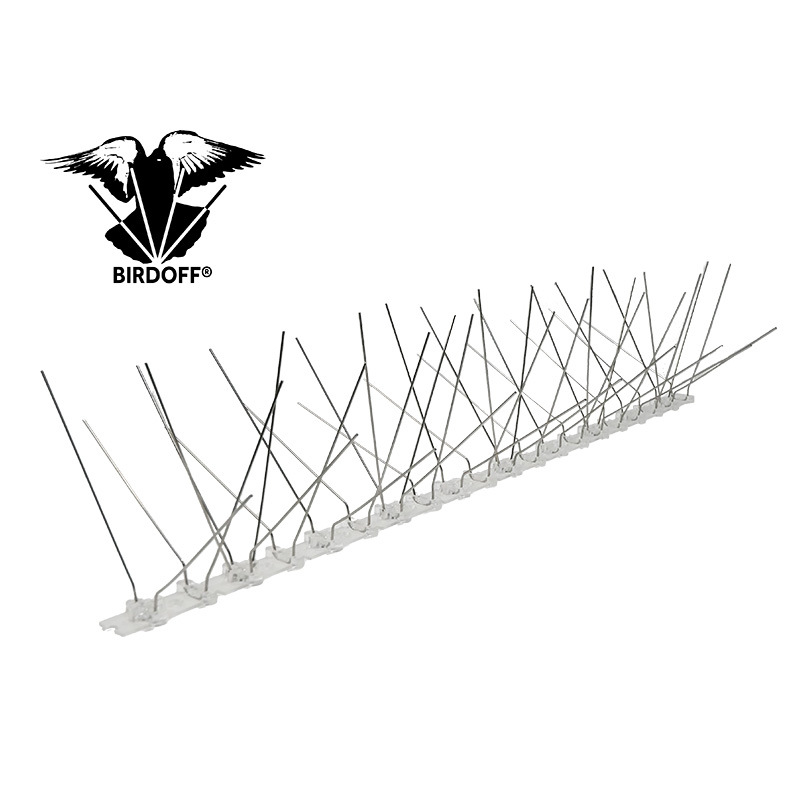
- High-strength 302 stainless steel rods provide protection for areas up to 85mm x 135mm.
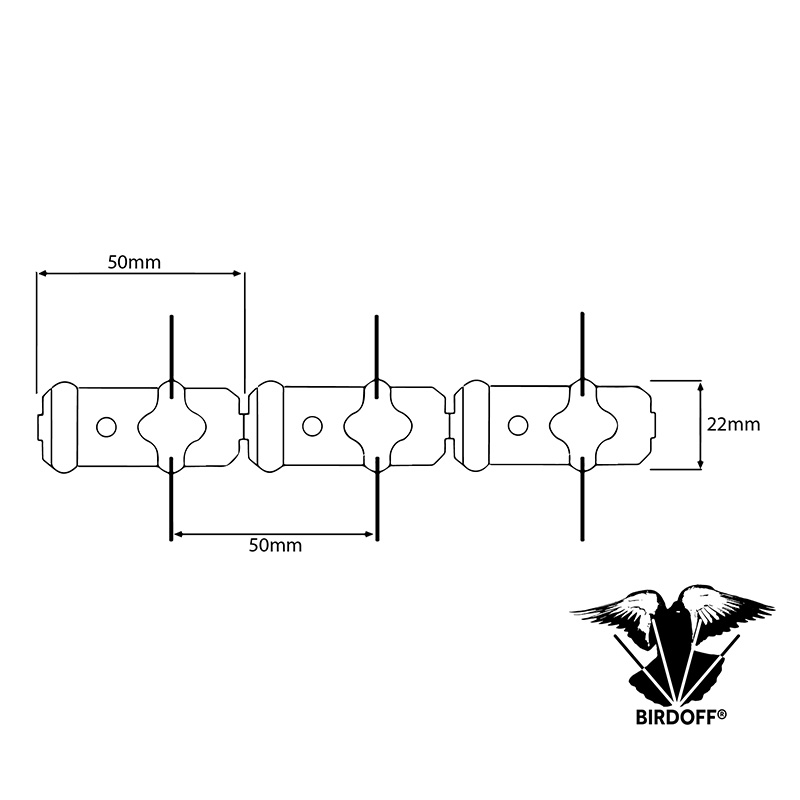
- UV-stabilised virgin polycarbonate base, measuring 22mm x 500mm for durability in all weather conditions.
- Backed by a 10-year materials warranty.
- Humane Bird Deterrent which prevents landing and roosting without harming birds.
- Designed with multiple obtuse angles for high-density coverage across large areas.
- Can be quickly secured with adhesive, screws, or clips, ensuring easy installation.
Preparation:
-
Disinfect the Area:
Bird droppings can carry transmittable diseases. Thoroughly disinfect the working area with
GuanoFix Plus avian disinfectant before proceeding.
-
Prepare the Surface:
Proper surface preparation is crucial for a successful installation. Avoid laying spikes on contaminated or unprepared surfaces.
- For greasy surfaces, clean thoroughly with
Surface Cleaner before priming.
- For polished surfaces, such as metal or plastic, use
Surface Activator to ensure optimal adhesion.
- Always prime the surface with Spike Adhesive, applying it with a
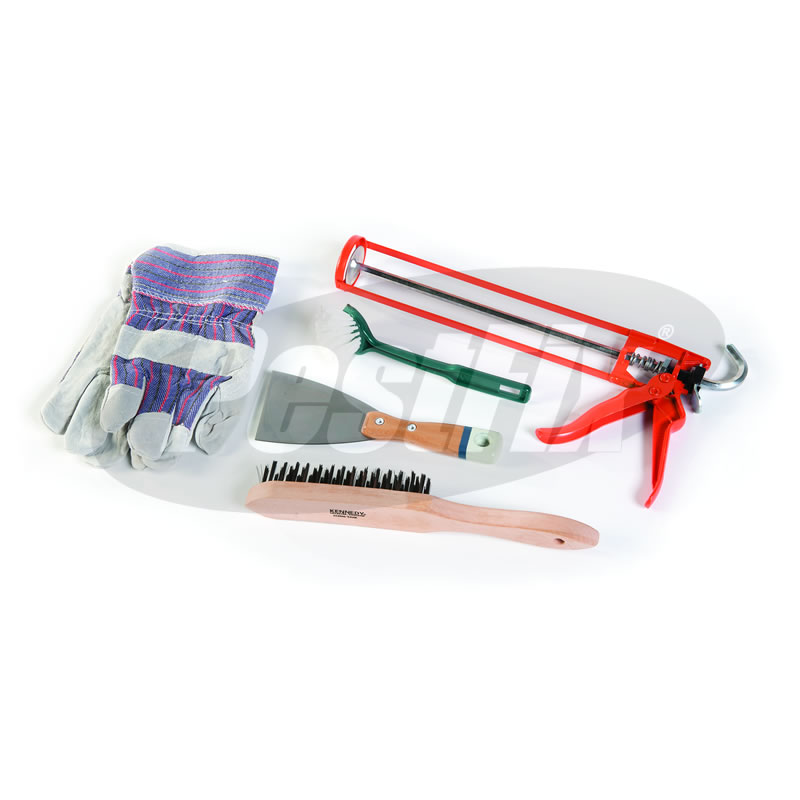
Disposable Priming Brush for a secure, long-lasting bond.
Positioning:
- Ensure the spike tips overhang the leading edge of ledges, parapets, or sills by approximately 10mm to prevent birds from gaining an initial foothold.
- When installing parallel rows of spikes, maintain:
- 65mm gap between rows for pigeon spikes.
- 100mm gap between rows for seagull spikes.
- For smaller areas, snap off the spike strip sections along the pre-marked grooves to fit the space.
Note: The polycarbonate base is flexible and can bend along shallow curves. However, increased spacing between spikes on curves may reduce effectiveness.
Installation:
Gluing the Spikes
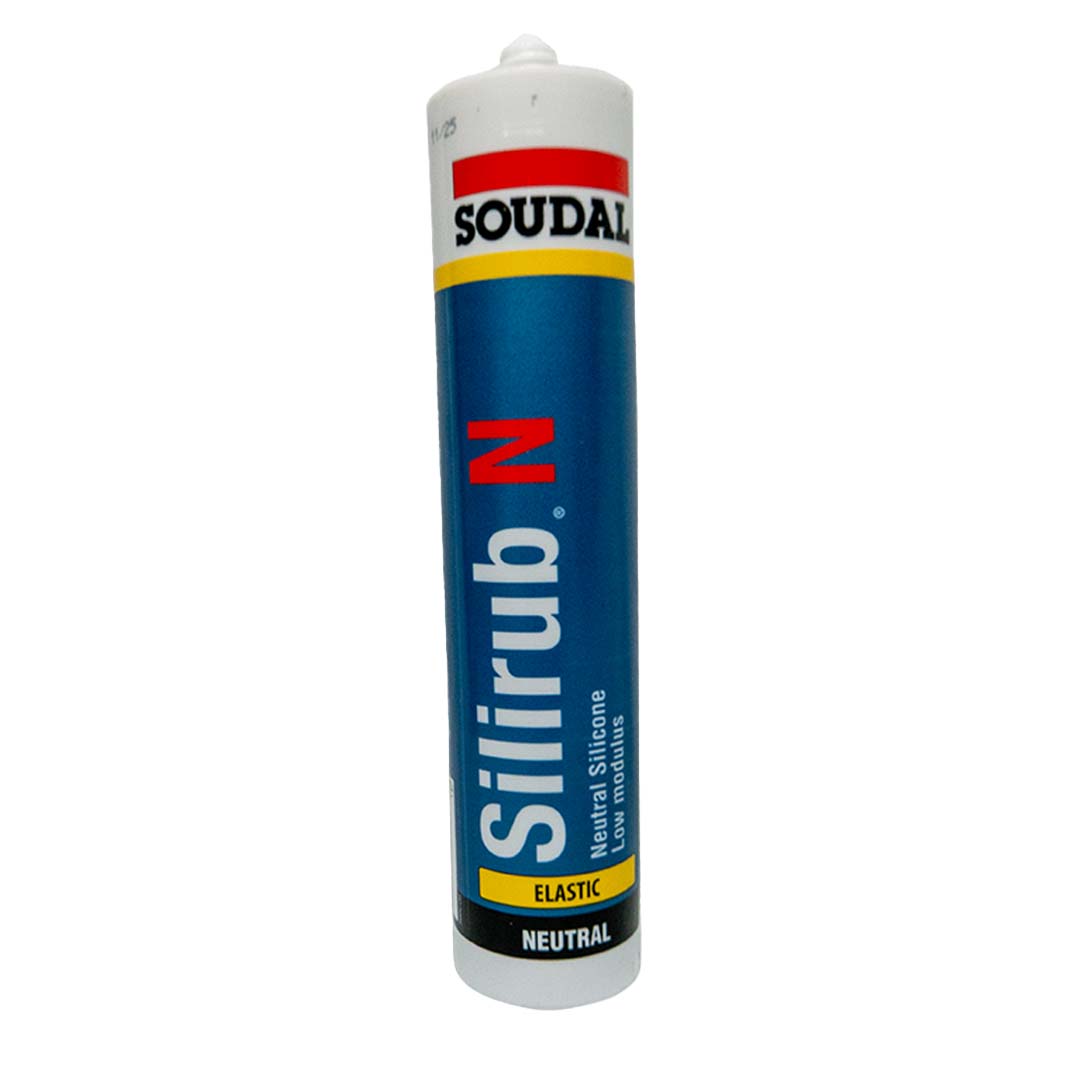
- Apply an 8mm-wide bead of neutral cure low-modulus adhesive along the underside of the spike strip.
- Firmly press the polycarbonate base onto the primed surface, ensuring that glue rivets rise through the holes in the base for a secure attachment.
- Allow the adhesive to set for at least 24 hours before disturbing the spikes.
Rain Gutter Installation:
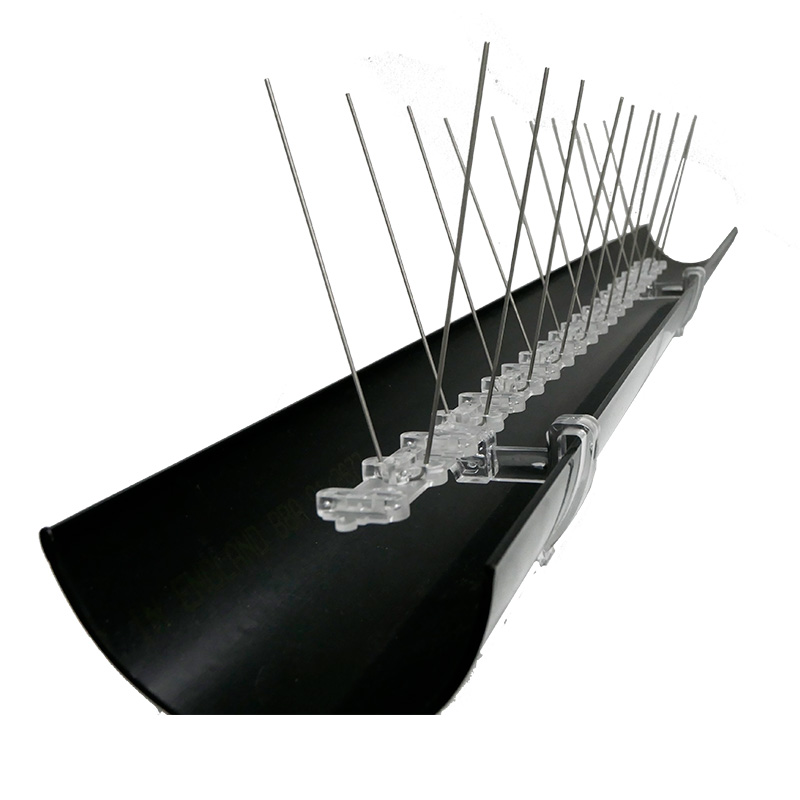
- Secure spikes to the outer edge of gutters using BirdOff Gutter Clips..
- Use two clips per strip, placing one at each end of the spike strip for stability.
Important Notes:
- Bird spikes are designed to deter lightweight birds (under 1kg), such as pigeons and gulls. They are not suitable for larger animals, human intruders, or pets.
- While the polycarbonate base allows for bending, this may reduce spike density and effectiveness.




.jpg)
