|
|
|


| 01903 538 488 |
|
|
|
|
| 01903 538 488 |
|
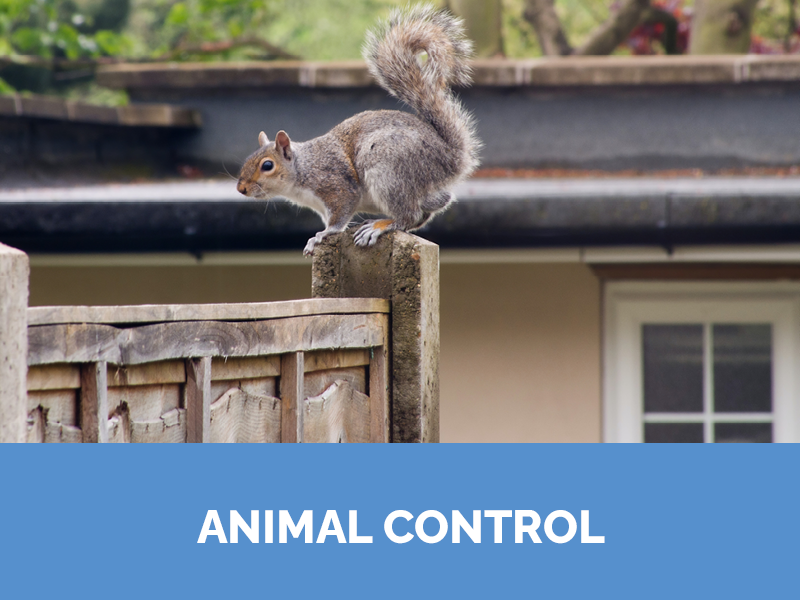
| Bird Control | Rodent Control | Insect Control | Animal Control | Shooting Accessories | Tools & PPE |

.png)
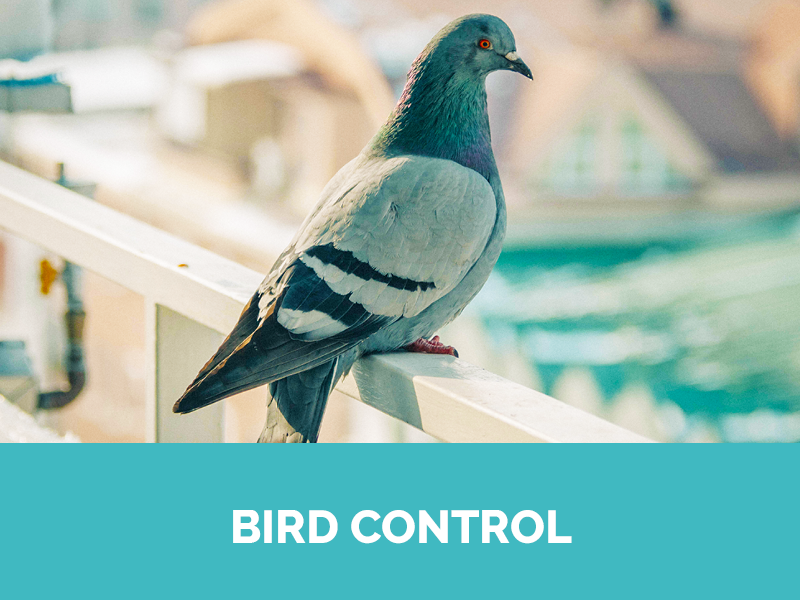
Click here to view our extensive range of bird control products. Bird Scarers, Bird Spikes, Bird Netting, Solar Panel Protection, Bird Repellents, and more in stock for next day delivery.
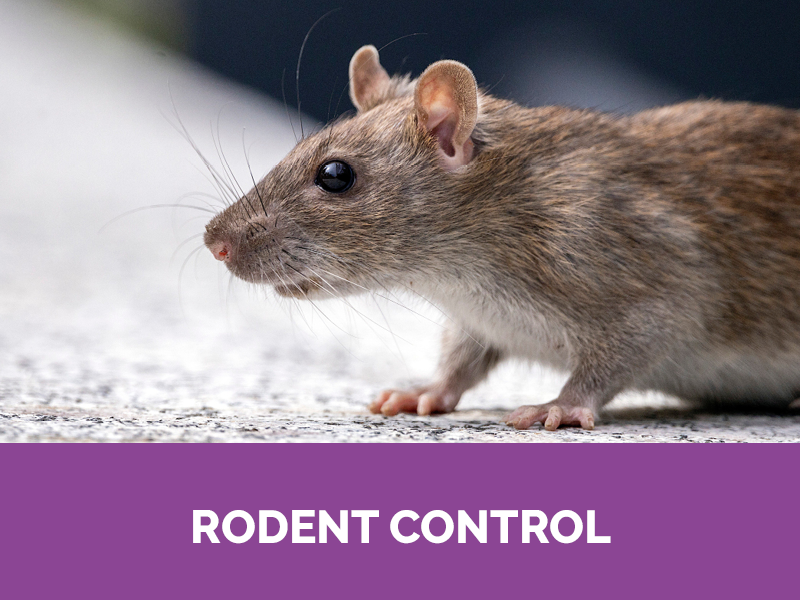
Click here to view our extensive range of rodent control products. Rat & Mouse poison, Rat Traps, Rodent Mesh, Bait Stations, Rodent Tracking, Professional Rodenticides, and more in stock for next day delivery.
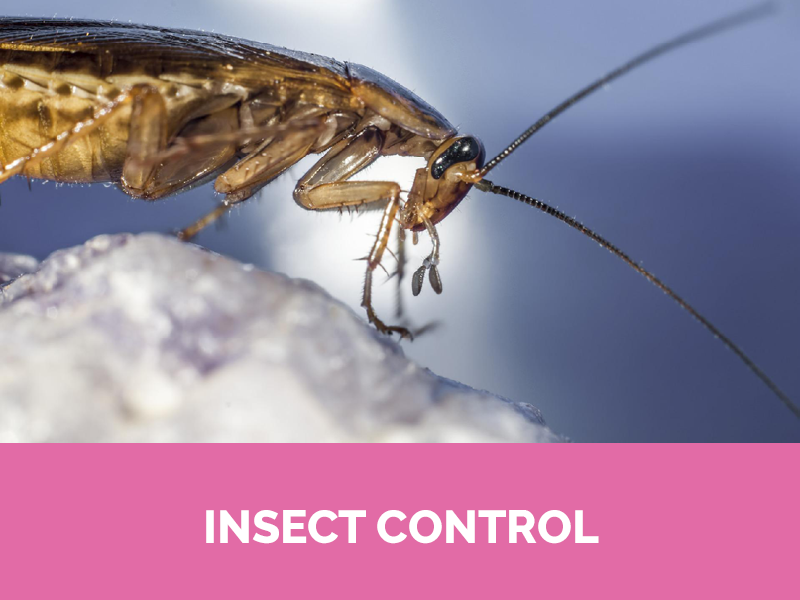
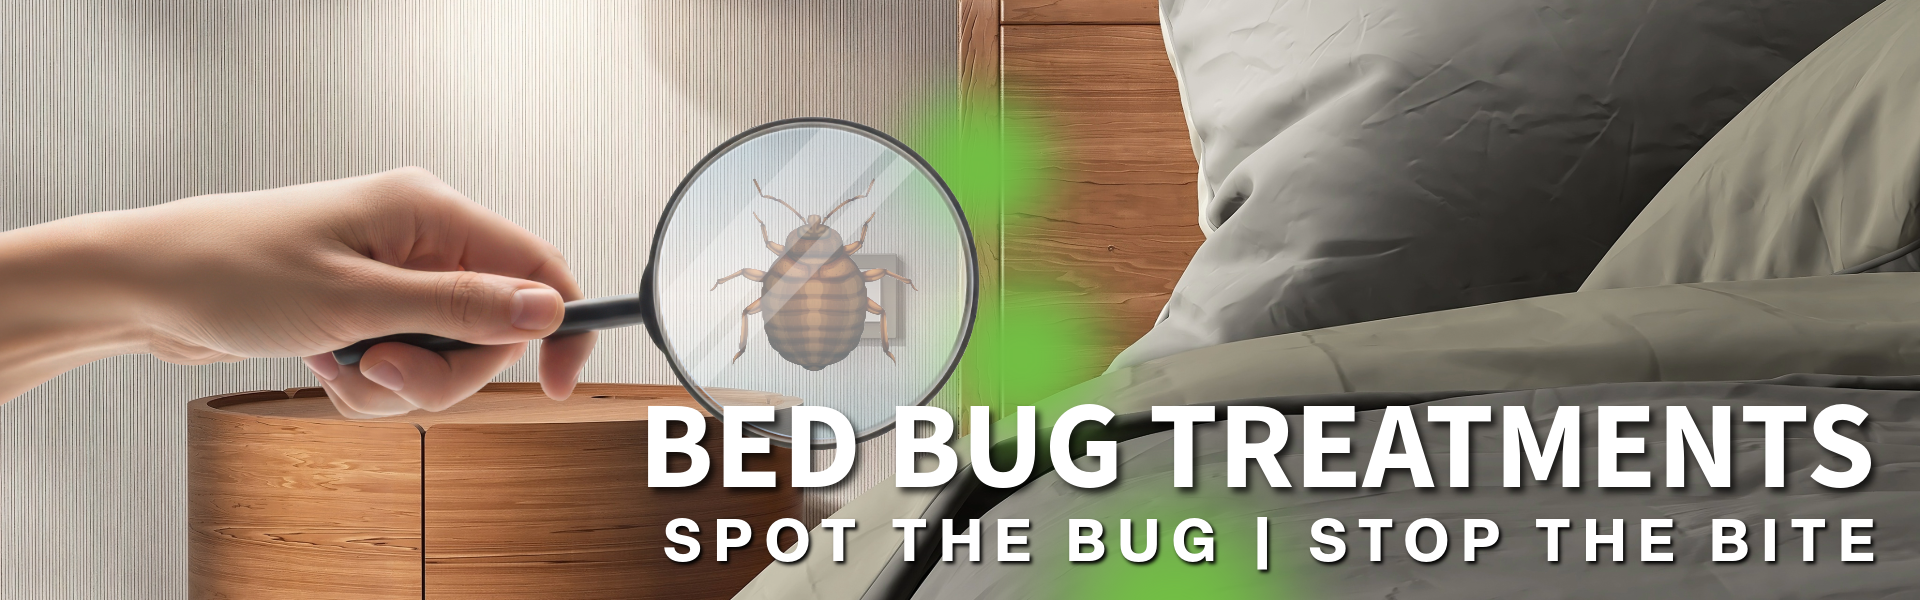
Click here to view our extensive range of insect control products. Professional Insecticides, Insect Traps, Electric Fly Killers, Garden Insect Killers, Natural Insecticides. Includes products for Ants, Bed Bugs, Carpet beetle, Cockroaches, Fleas, Flies, Moths, Spiders, Wasps and more in stock for next day delivery.

Click here to view our extensive range of shooting accessories and consumables. Air rifle ammunition and pellets, gun cleaning, rifle scopes, printed targets and more.
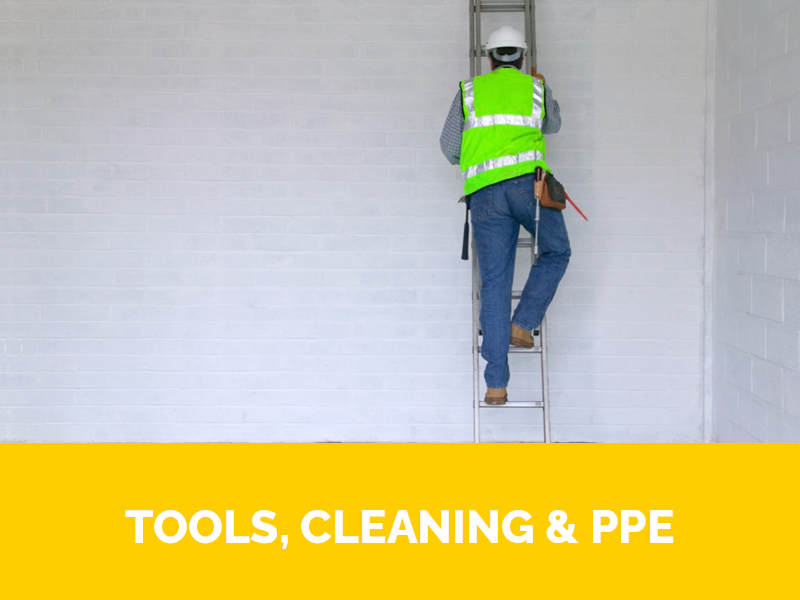
Click here to view our extensive range of tools, cleaning and PPE products. Adhesives, primers, hand tools, specialist pest tools, foams, sealants, disinfectants, waste sacks and more in stock for next day delivery.
|
|
|
|
|
|
|
|
|
|
|
|
|
|
|
|
|
|
|
|
|
|
|
|
|
|
|
|
PestFix
Unit 1-3 Cedar Park
30 Terminus Road
Chichester
West Sussex
PO19 8GT
Sales Enquiries
Tel: 01903 538 488
Fax: 01903 539 331
Email: [email protected]
Press Enquiries (Journalists Only)
Email: [email protected]
 |  |
|
|
|
|
.png)
.png)
.png)

.png)

.png)